# SpringBoot-Admin
**Repository Path**: ZhangTurtle/spring-boot-admin
## Basic Information
- **Project Name**: SpringBoot-Admin
- **Description**: No description available
- **Primary Language**: Unknown
- **License**: Not specified
- **Default Branch**: master
- **Homepage**: None
- **GVP Project**: No
## Statistics
- **Stars**: 0
- **Forks**: 0
- **Created**: 2024-03-12
- **Last Updated**: 2024-03-13
## Categories & Tags
**Categories**: Uncategorized
**Tags**: None
## README
> 声明:项目案例托管至Gitee:[https://gitee.com/ZhangTurtle/spring-boot-admin.git](https://gitee.com/ZhangTurtle/spring-boot-admin.git)
【**前情提要**】Spring Boot Actuator 提供了对单个 Spring Boot 应用的监控,信息包含应用状态、内存、线程、堆栈等,比较全面的监控了 Spring Boot 应用的整个生命周期。
但是这样监控也有一些问题:
第一,所有的监控都需要调用固定的接口来查看,如果全面查看应用状态需要调用很多接口,并且接口返回的 JSON 信息不方便运营人员理解;
第二,如果 Spring Boot 应用集群非常大,每个应用都需要调用不同的接口来查看监控信息,操作非常繁琐低效。在这样的背景下,就诞生了另外一个开源软件:**Spring Boot Admin**。
:::success
基于SpringBootAdmin的开源产品很多,我们选择:[https://github.com/codecentric/spring-boot-admin](https://github.com/codecentric/spring-boot-admin)
:::
[spring-boot-admin与spring-boot和spring-cloud版本关系_springboot 项目不使用springcloud能用springboot admin么-CSDN博客](https://blog.csdn.net/q283614346/article/details/121146721)
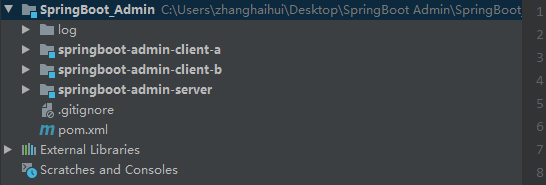
### 0.demo 搭建使用聚合项目搭建
项目结构:
父项目的 pom 依赖如下:
```xml
4.0.0
com.turtle
springboot-admin
pom
1.0-SNAPSHOT
springboot-admin-server
springboot-admin-client-a
springboot-admin-client-b
org.springframework.boot
spring-boot-starter-parent
2.5.4
org.springframework.cloud
spring-cloud-dependencies
2020.0.1
pom
import
org.springframework.boot
spring-boot-maven-plugin
```
### 1.搭建Admin服务器(新建 Server 端)
创建建对应的SpringBoot项目,添加相关依赖
```xml
springboot-admin
com.turtle
1.0-SNAPSHOT
4.0.0
springboot-admin-server
de.codecentric
spring-boot-admin-server
2.5.1
de.codecentric
spring-boot-admin-server-ui
2.5.1
org.springframework.boot
spring-boot-starter-web
org.springframework.boot
spring-boot-maven-plugin
```
启动类添加对应注解(@EnableAdminServer),放开Admin服务
```java
package com.turtle.server;
import de.codecentric.boot.admin.server.config.EnableAdminServer;
import org.springframework.boot.SpringApplication;
import org.springframework.boot.autoconfigure.SpringBootApplication;
@EnableAdminServer
@SpringBootApplication
public class BootAdminApplication {
public static void main(String[] args) {
SpringApplication.run(BootAdminApplication.class, args);
}
}
```
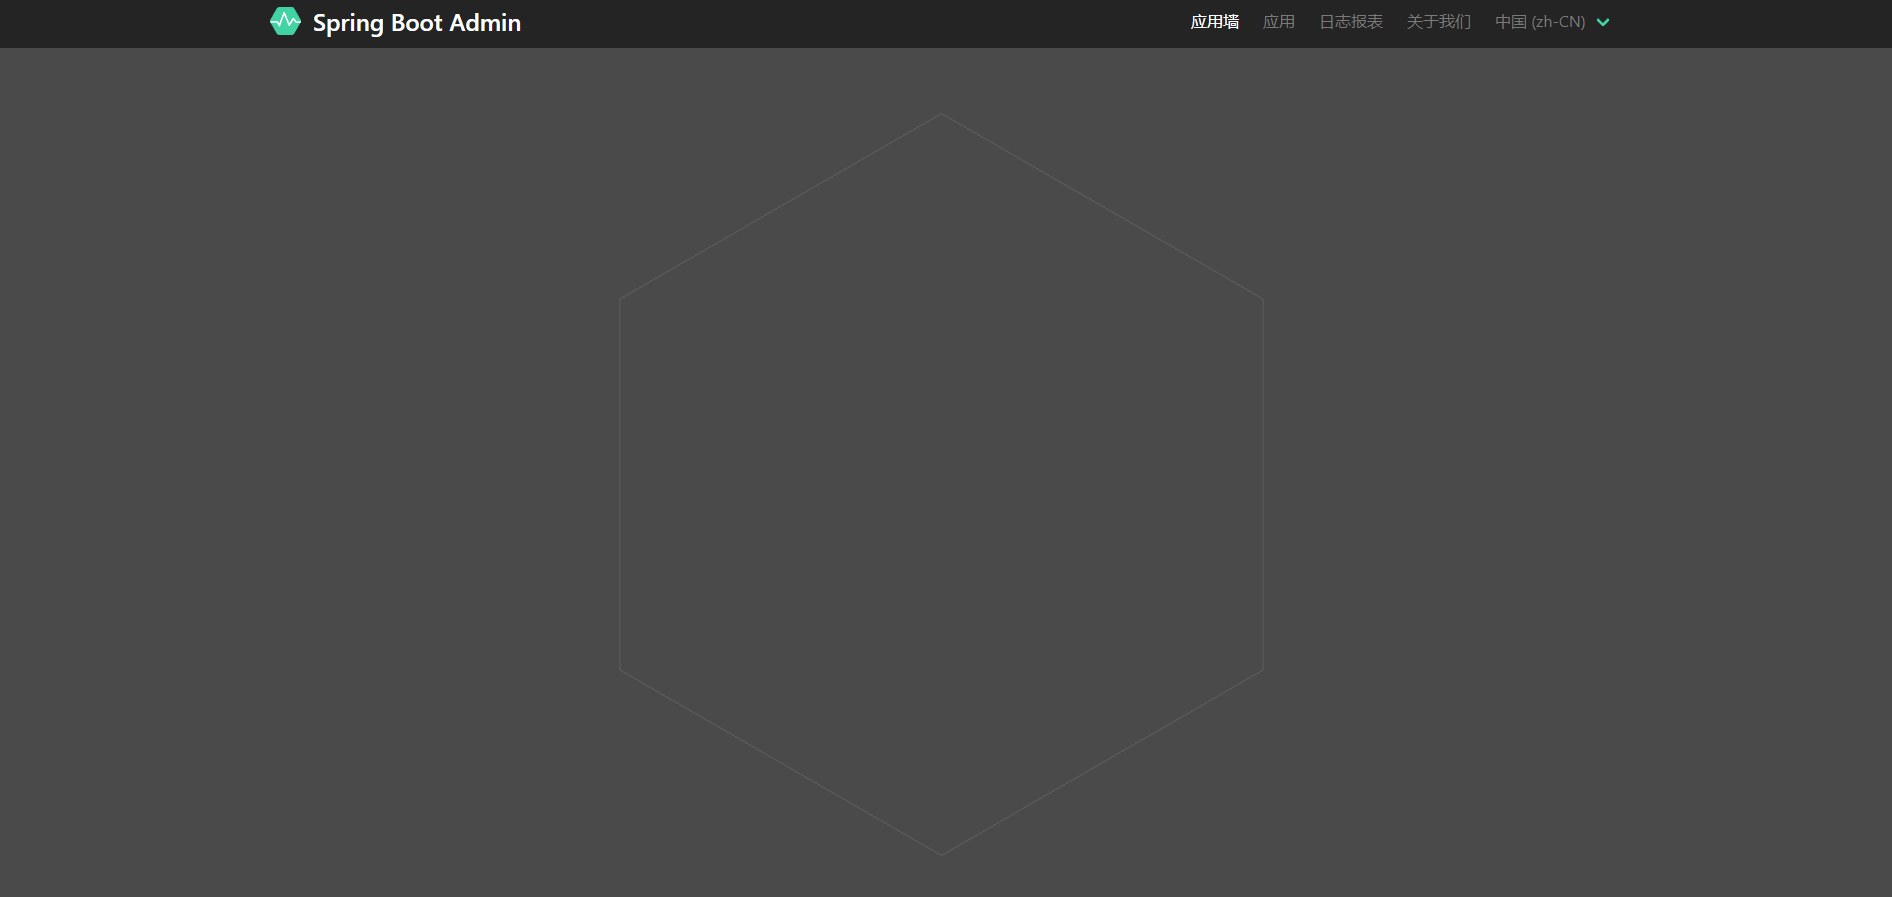
启动springboot-admin-server服务,访问地址:[http://127.0.0.1:8762/](http://127.0.0.1:8762/)
这个时候没有服务注册,所以是空的,创建对应的客户端来被监控即可
### 2.客户端配置
创建一个SpringBoot项目整合Actuator后添加Admin的客户端依赖
```xml
springboot-admin
com.turtle
1.0-SNAPSHOT
4.0.0
springboot-admin-client-a
de.codecentric
spring-boot-admin-starter-client
2.1.6
org.springframework.boot
spring-boot-starter-web
```
然后在属性文件中添加服务端的配置和Actuator的基本配置
```yaml
spring:
boot:
admin:
client:
url: http://localhost:8762 #server端地址
instance:
service-base-url: http://localhost:8766 #client地址,
#不配置的情况下,在打包的时候会有提示。不影响运行。
application:
name: client-a
management:
endpoints:
web:
exposure:
include: "*"
endpoint:
health:
show-details: ALWAYS
info:
version: @project.version@
groupId: @project.groupId@
artifactId: @project.artifactId@
server:
port: 8766
```
刷新Admin的服务端页面,可看到服务被监控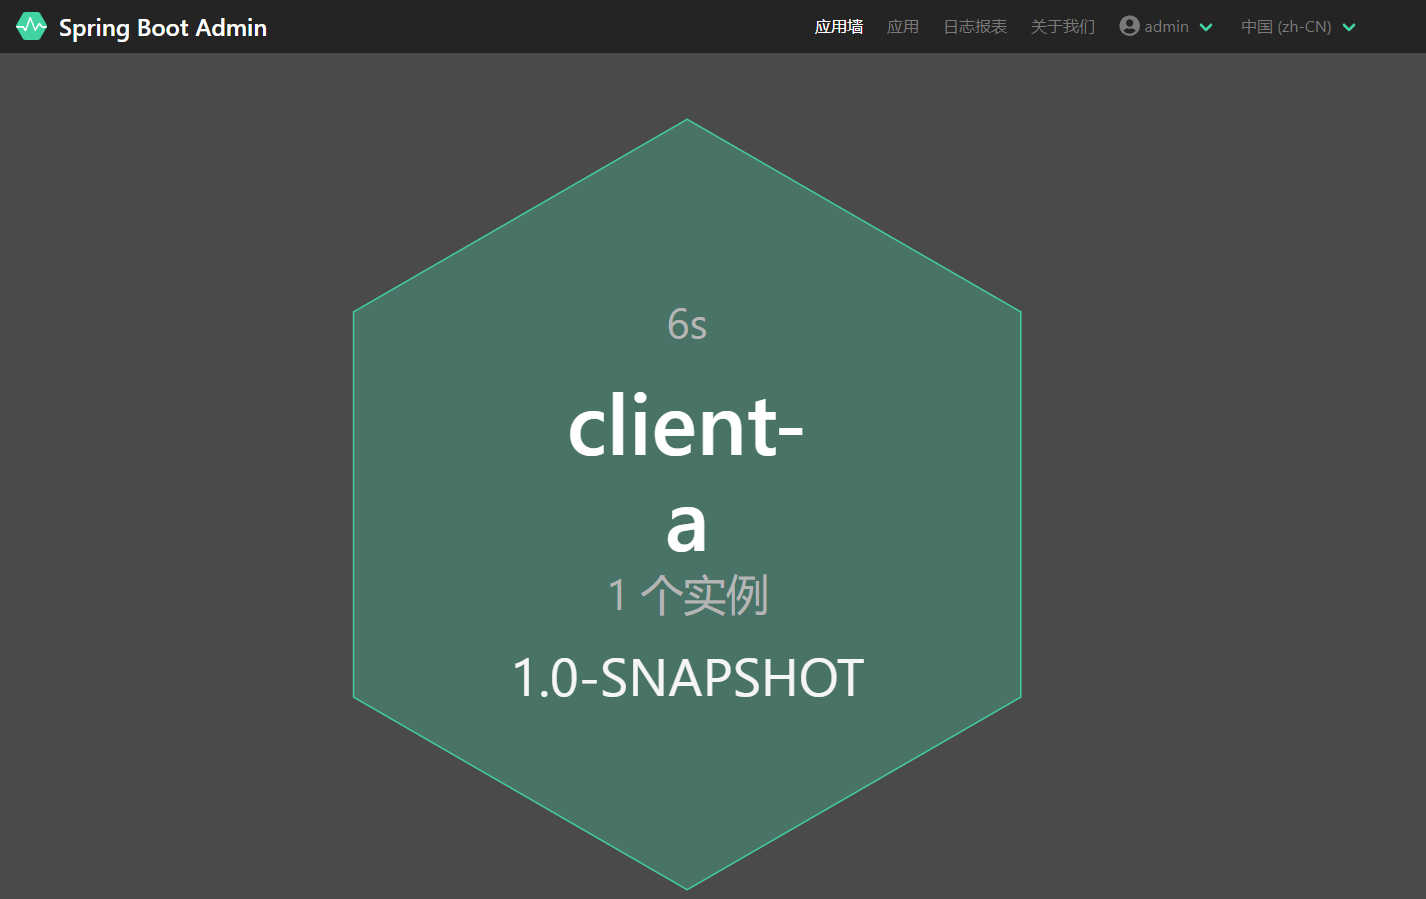
我们就可以在这个可视化的界面来处理操作了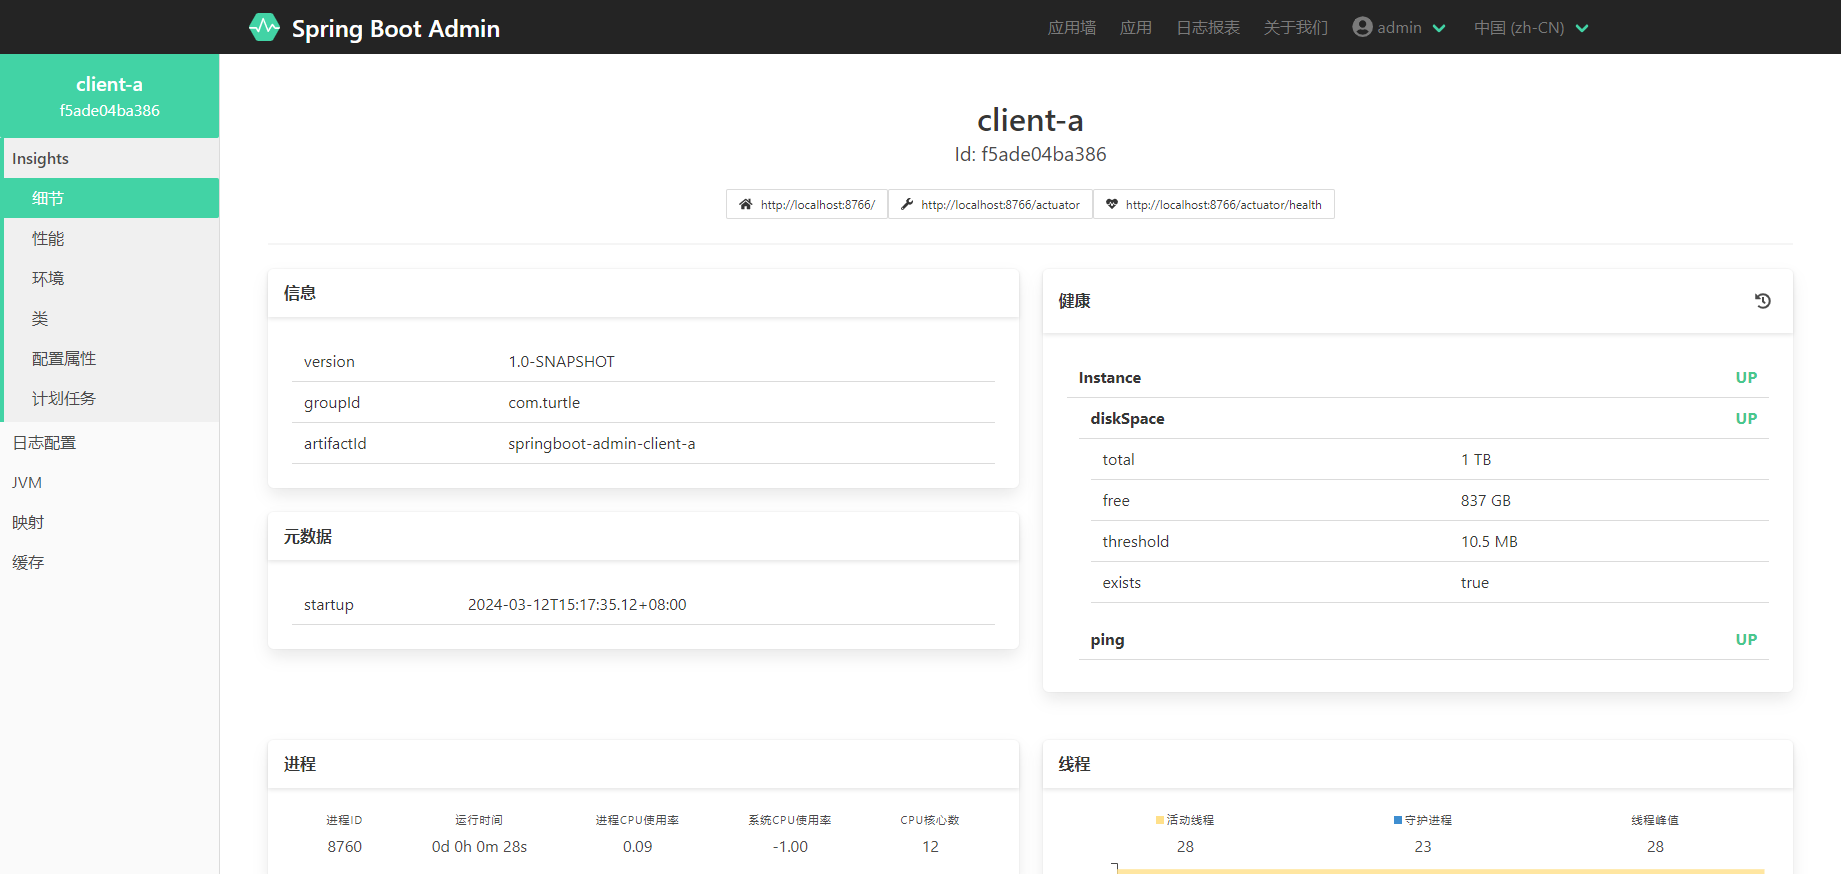
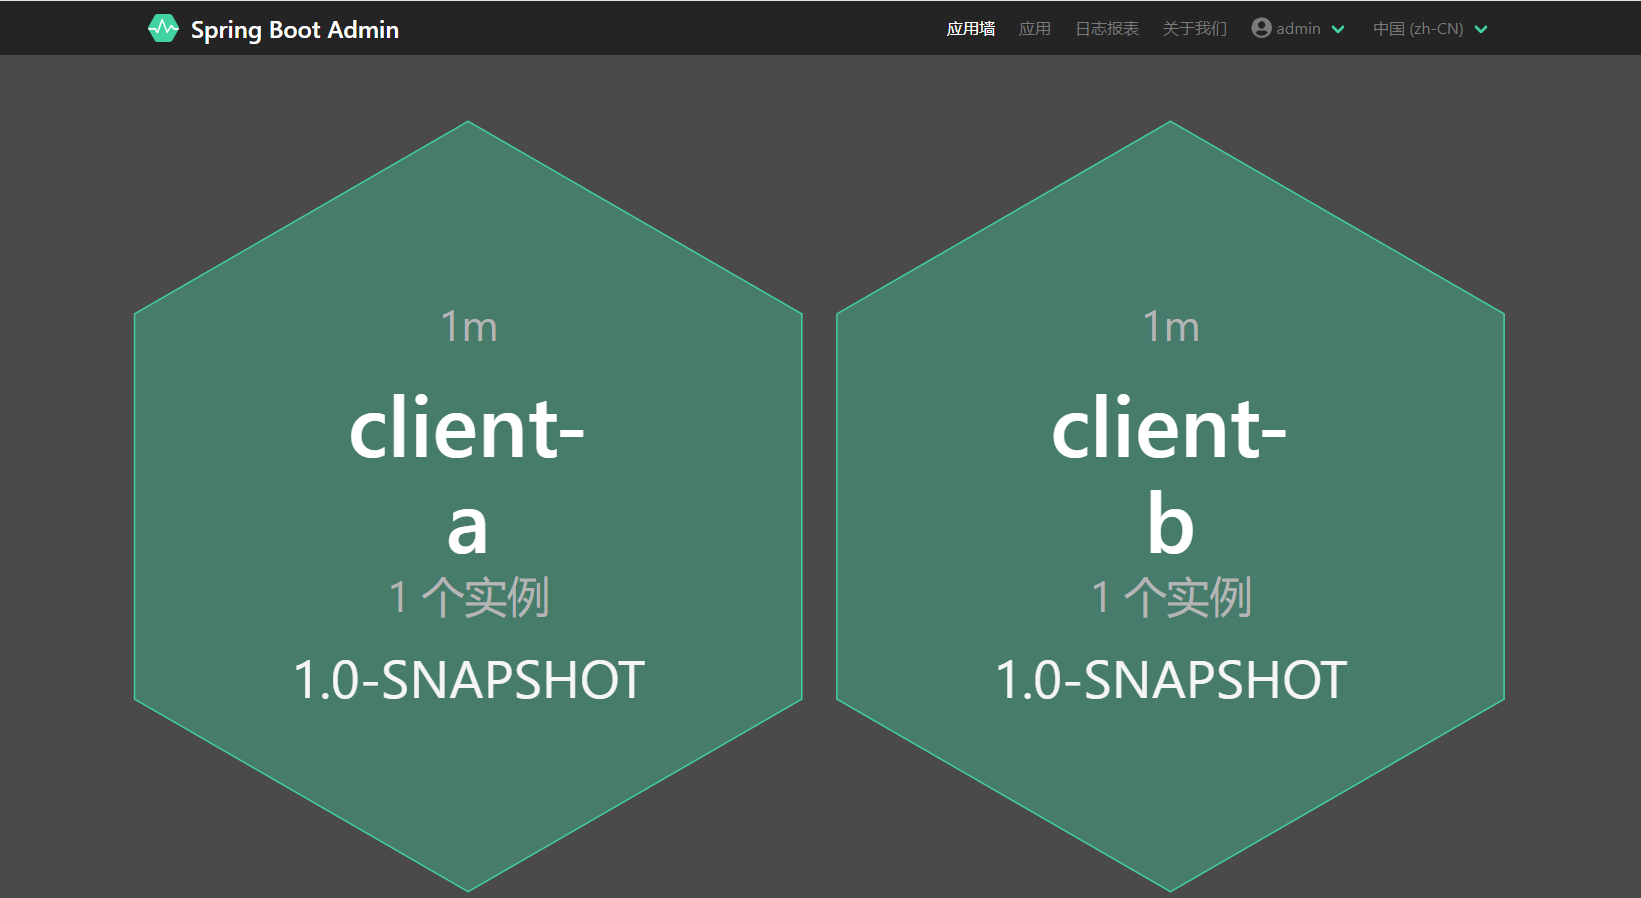
:::success
PS:
按照同样的步骤创建客户端B,将服务暴露,被admin监控
:::
### 3.服务状态
我们可以监控下MySQL的状态,在springboot-admin-client-a模块中添加对应的数据库依赖
```xml
org.springframework.boot
spring-boot-starter-web
mysql
mysql-connector-java
```
```xml
springboot-admin
com.turtle
1.0-SNAPSHOT
4.0.0
springboot-admin-client-a
de.codecentric
spring-boot-admin-starter-client
2.1.6
org.springframework.boot
spring-boot-starter-web
mysql
mysql-connector-java
org.springframework.boot
spring-boot-starter-jdbc
```
然后添加对应的jdbc配置(spring.datasource.xxx)
```yaml
spring:
boot:
admin:
client:
url: http://localhost:8762 #server端地址
instance:
service-base-url: http://localhost:8766 #client地址,
#不配置的情况下,在打包的时候会有提示。不影响运行。
application:
name: client-a
datasource:
driverClassName: com.mysql.cj.jdbc.Driver
url: jdbc:mysql://120.55.48.103:3306/mysql?serverTimezone=UTC&useUnicode=true&characterEncoding=utf-8&useSSL=true
username: root
password: root
management:
endpoints:
web:
exposure:
include: "*"
endpoint:
health:
show-details: ALWAYS
info:
version: @project.version@
groupId: @project.groupId@
artifactId: @project.artifactId@
server:
port: 8766
```
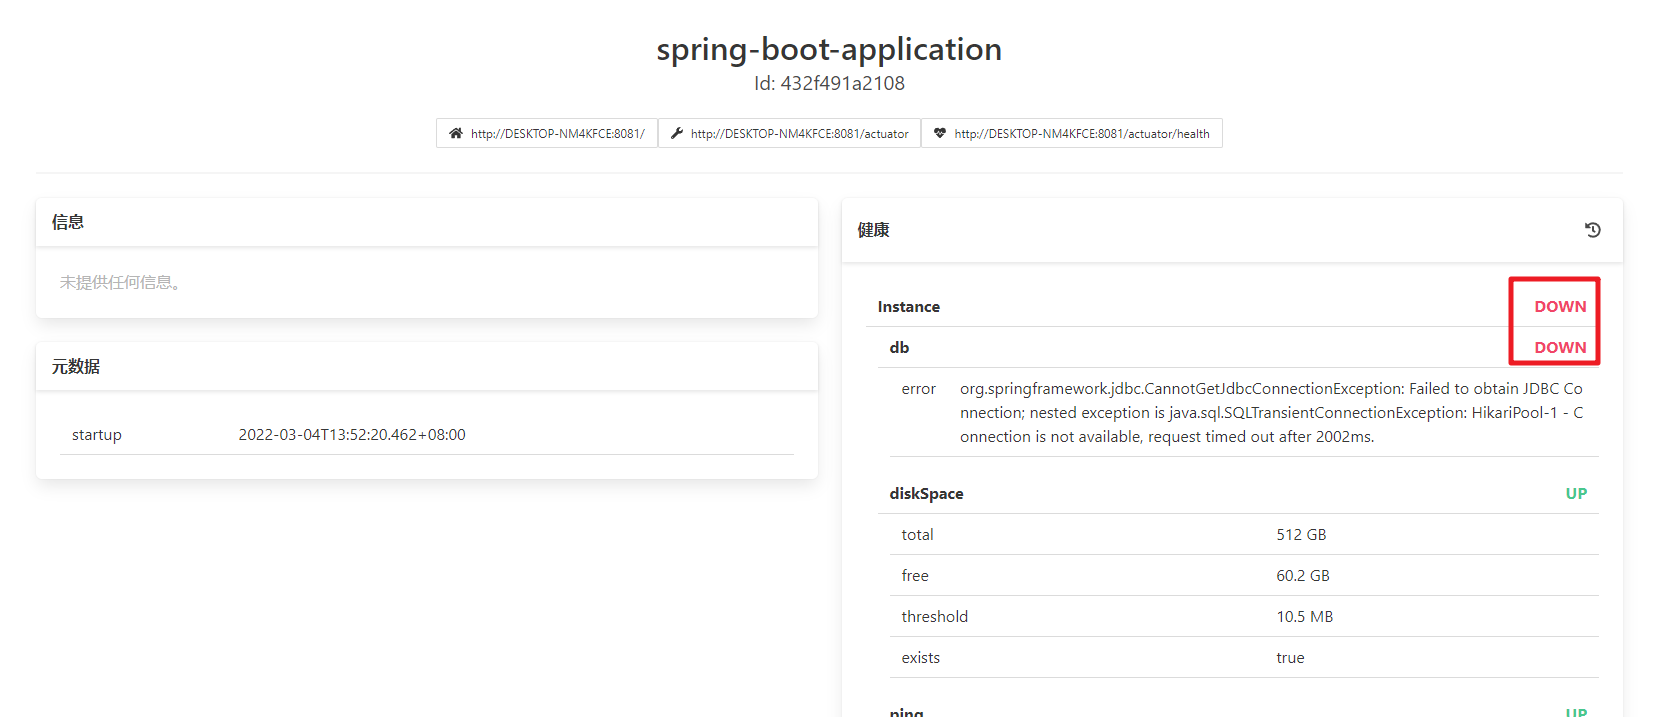
然后我们在Admin中的health中就可以看到对应的数据库连接信息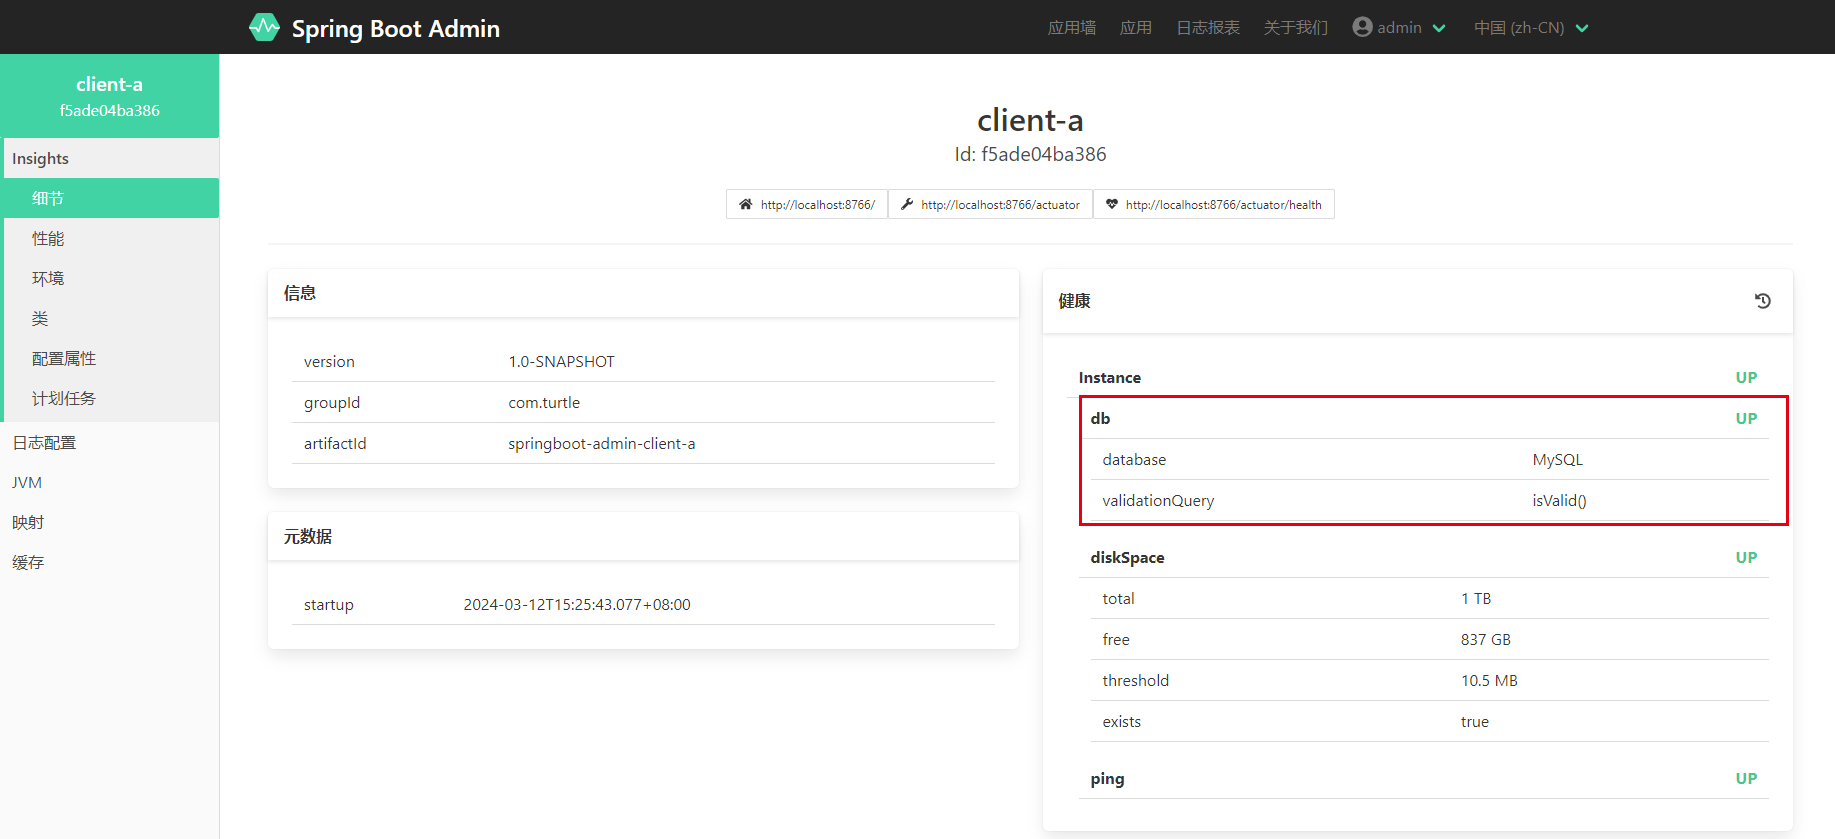
测试:
当我把MySQL数据库关闭后,查看springboot admin的监控面板信息:

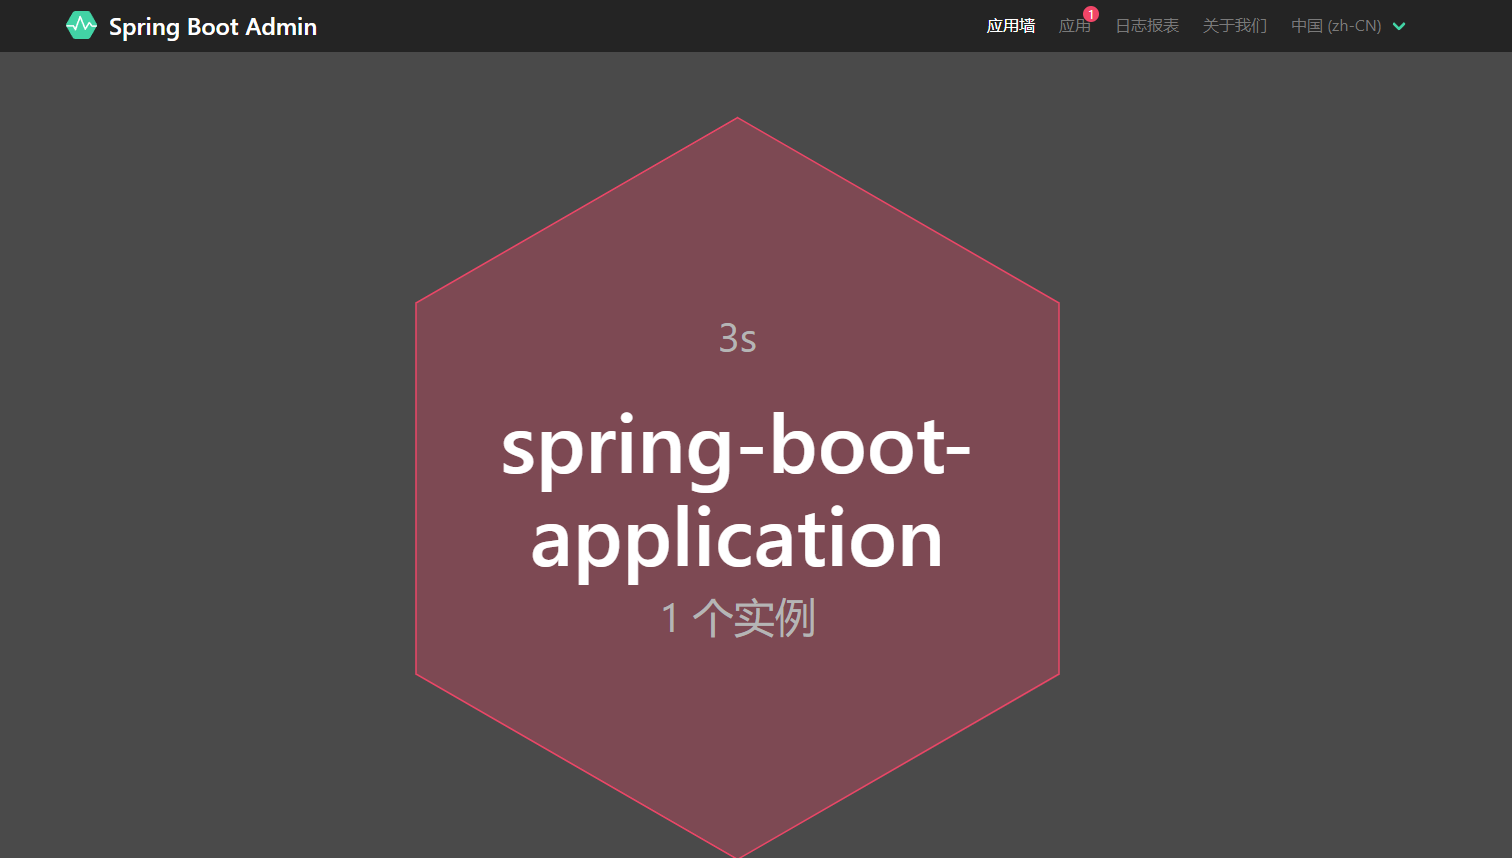
可以看到Admin中的应用墙变灰了
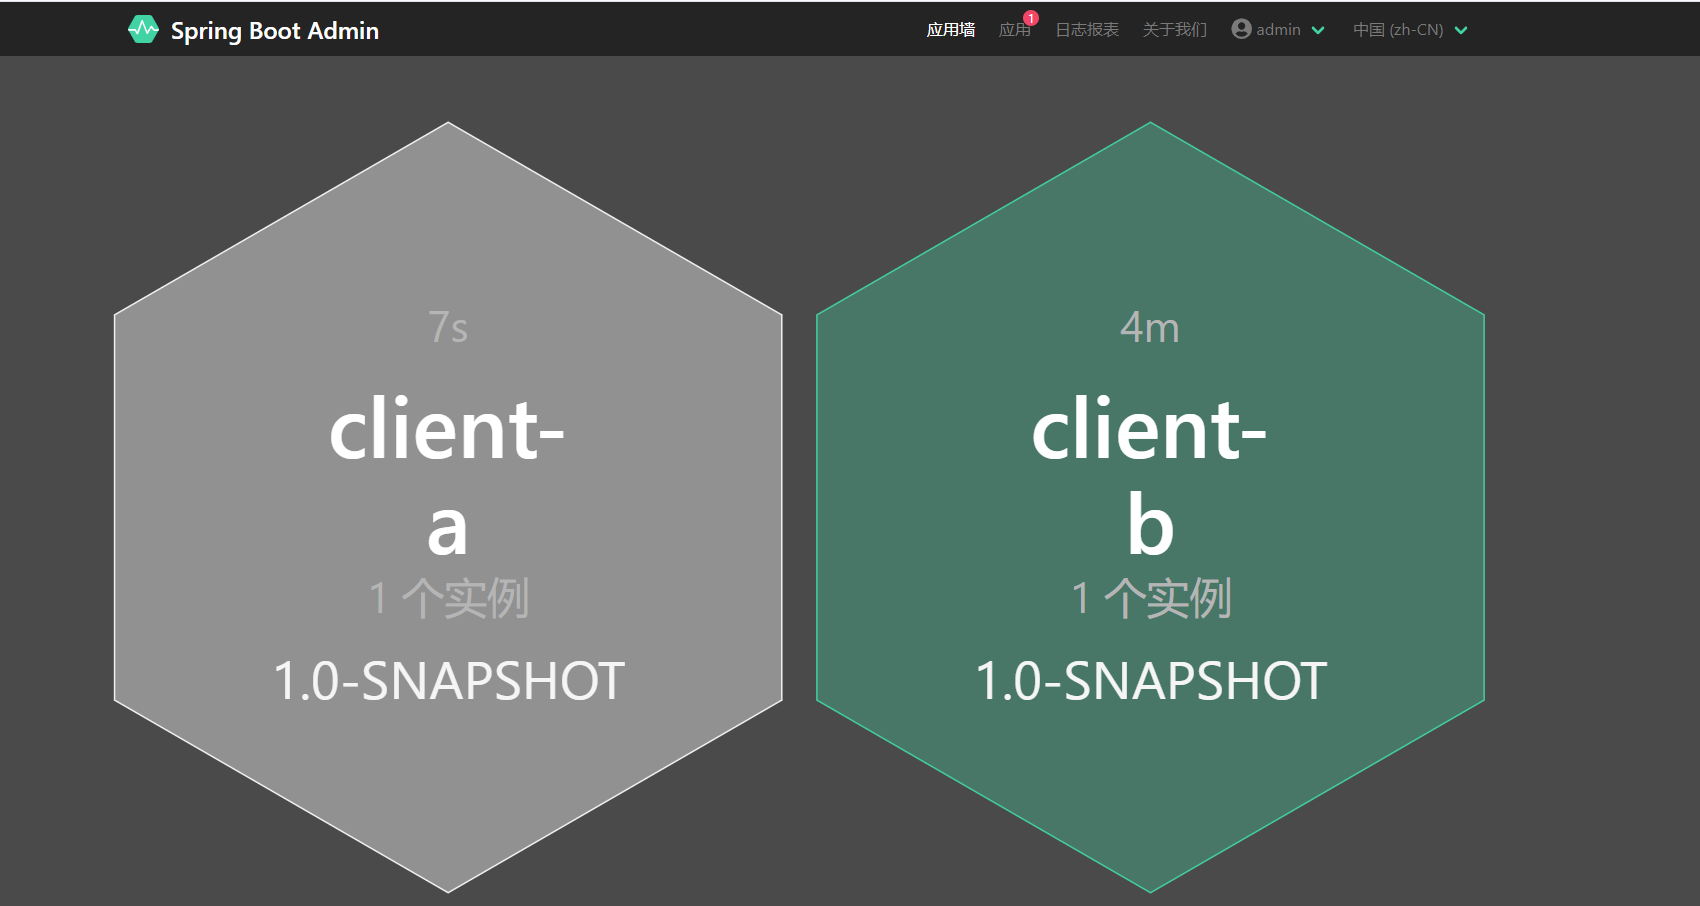
重新启动mysql服务后,恢复正常,然后我们修改下数据库连接的超时时间
```java
# 数据库连接超时时间
spring.datasource.hikari.connection-timeout=2000
```
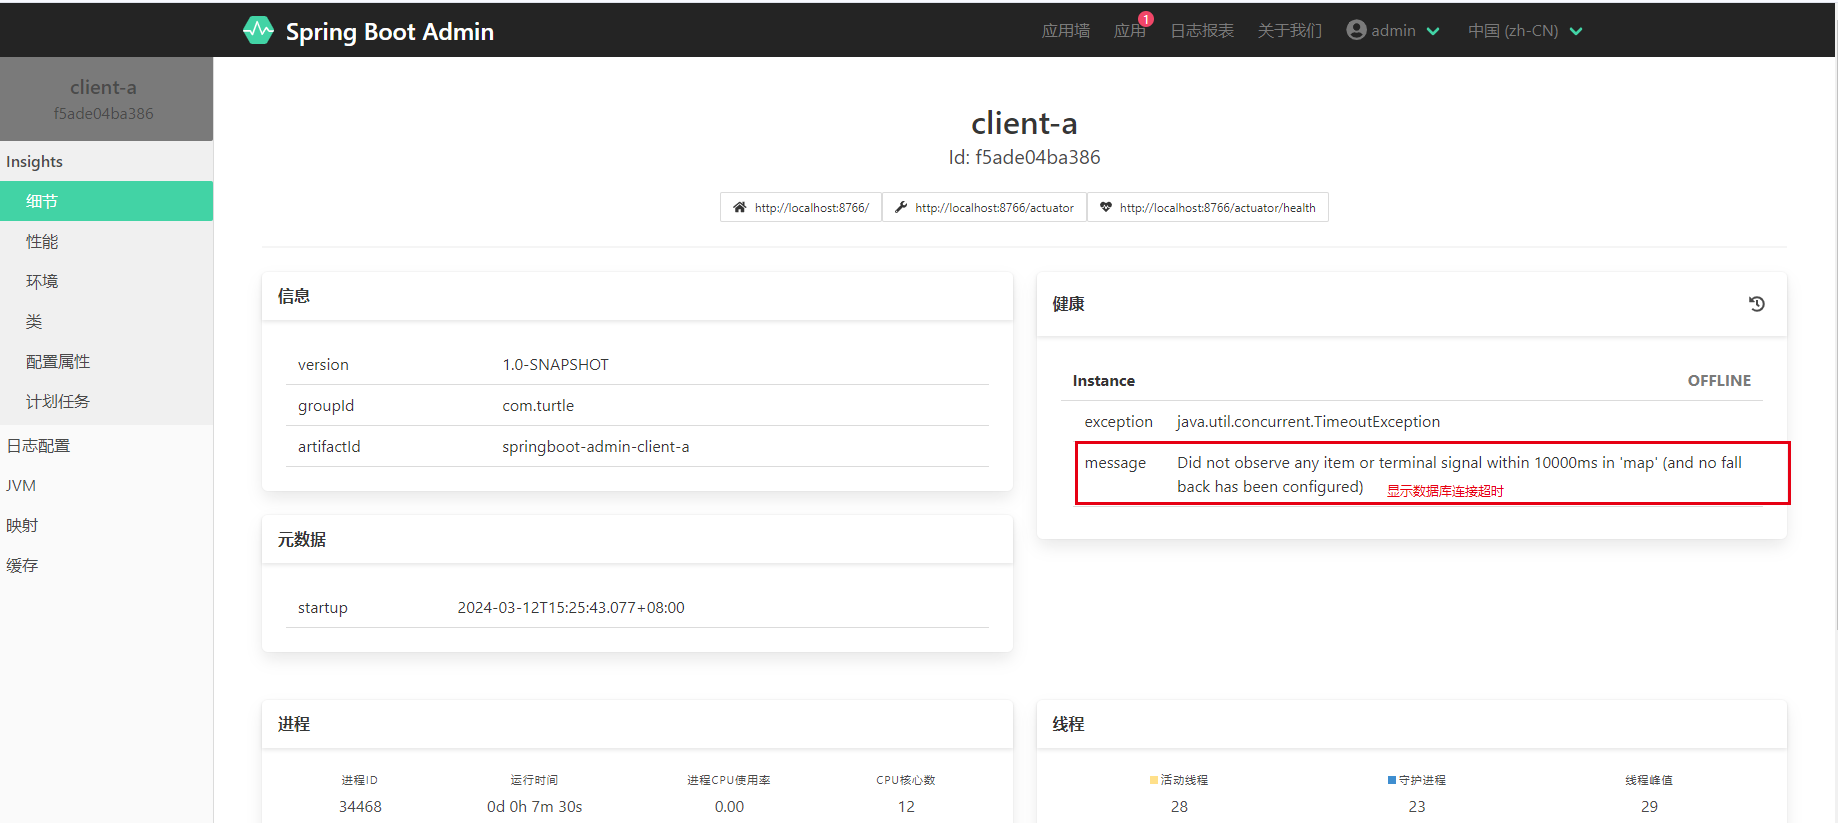
关闭数据库后,我们发现应用变红了
> 设置数据库连接超时后即可在有效的时间内发下应用的状态。
> - 绿色:正常状态
> - 灰色:连接客户端健康信息超时
> - 红色:可以看到具体的异常信息
### 4.安全防护
其实我们可以发现在SpringBootAdmin的管理页面中我们是可以做很多的操作的,这时如果别人知道了对应的访问地址,想想是不是就觉得恐怖,所以必要的安全防护还是很有必要的,我们来看看具体应该怎么来处理
由于在分布式 web 应用程序中有几种解决身份验证和授权的方法,Spring Boot Admin 没有提供默认的方法。默认情况下,spring-boot-admin-server-ui 提供了一个登录页面和一个注销按钮,引入SpringSecurity进行权限管理。
在springboot-admin-server模块中导入依赖:
```xml
org.springframework.boot
spring-boot-starter-security
```
然后在springboot-admin-server模块添加对应的配置类
```java
package com.turtle.server.configure;
import de.codecentric.boot.admin.server.config.AdminServerProperties;
import org.springframework.boot.autoconfigure.security.SecurityProperties;
import org.springframework.context.annotation.Configuration;
import org.springframework.http.HttpMethod;
import org.springframework.security.config.Customizer;
import org.springframework.security.config.annotation.authentication.builders.AuthenticationManagerBuilder;
import org.springframework.security.config.annotation.web.builders.HttpSecurity;
import org.springframework.security.config.annotation.web.configuration.WebSecurityConfigurerAdapter;
import org.springframework.security.web.authentication.SavedRequestAwareAuthenticationSuccessHandler;
import org.springframework.security.web.csrf.CookieCsrfTokenRepository;
import org.springframework.security.web.util.matcher.AntPathRequestMatcher;
import java.util.UUID;
// 使用lite模式
@Configuration(proxyBeanMethods = false)
public class SecuritySecureConfig extends WebSecurityConfigurerAdapter {
private final AdminServerProperties adminServer;
private final SecurityProperties security;
public SecuritySecureConfig(AdminServerProperties adminServer, SecurityProperties security) {
this.adminServer = adminServer;
this.security = security;
}
@Override
protected void configure(HttpSecurity http) throws Exception {
SavedRequestAwareAuthenticationSuccessHandler successHandler = new SavedRequestAwareAuthenticationSuccessHandler();
successHandler.setTargetUrlParameter("redirectTo");
successHandler.setDefaultTargetUrl(this.adminServer.path("/"));
http.authorizeRequests(
(authorizeRequests) -> authorizeRequests.antMatchers(this.adminServer.path("/assets/**")).permitAll()
.antMatchers(this.adminServer.path("/actuator/info")).permitAll()
.antMatchers(this.adminServer.path("/actuator/health")).permitAll()
.antMatchers(this.adminServer.path("/login")).permitAll().anyRequest().authenticated()
).formLogin(
(formLogin) -> formLogin.loginPage(this.adminServer.path("/login")).successHandler(successHandler).and()
).logout((logout) -> logout.logoutUrl(this.adminServer.path("/logout"))).httpBasic(Customizer.withDefaults())
.csrf((csrf) -> csrf.csrfTokenRepository(CookieCsrfTokenRepository.withHttpOnlyFalse())
.ignoringRequestMatchers(
new AntPathRequestMatcher(this.adminServer.path("/instances"),
HttpMethod.POST.toString()),
new AntPathRequestMatcher(this.adminServer.path("/instances/*"),
HttpMethod.DELETE.toString()),
new AntPathRequestMatcher(this.adminServer.path("/actuator/**"))
))
.rememberMe((rememberMe) -> rememberMe.key(UUID.randomUUID().toString()).tokenValiditySeconds(1209600));
}
// Required to provide UserDetailsService for "remember functionality"
// 需要为“记忆功能”提供UserDetailsService
@Override
protected void configure(AuthenticationManagerBuilder auth) throws Exception {
auth.inMemoryAuthentication().withUser(security.getUser().getName())
.password("{noop}" + security.getUser().getPassword()).roles("USER");
}
}
```
在springboot-admin-server模块配置文件中设置登录的账号密码
```yaml
server:
port: 8762
spring:
application:
name: SpringBootAdmin
security:
user:
name: admin
password: admin
#配置登录界面的UI显示标题
boot:
admin:
ui:
title: ${spring.application.name}
```
然后访问Admin管理页面,输入账号密码后可以进入,但是没有监控的应用了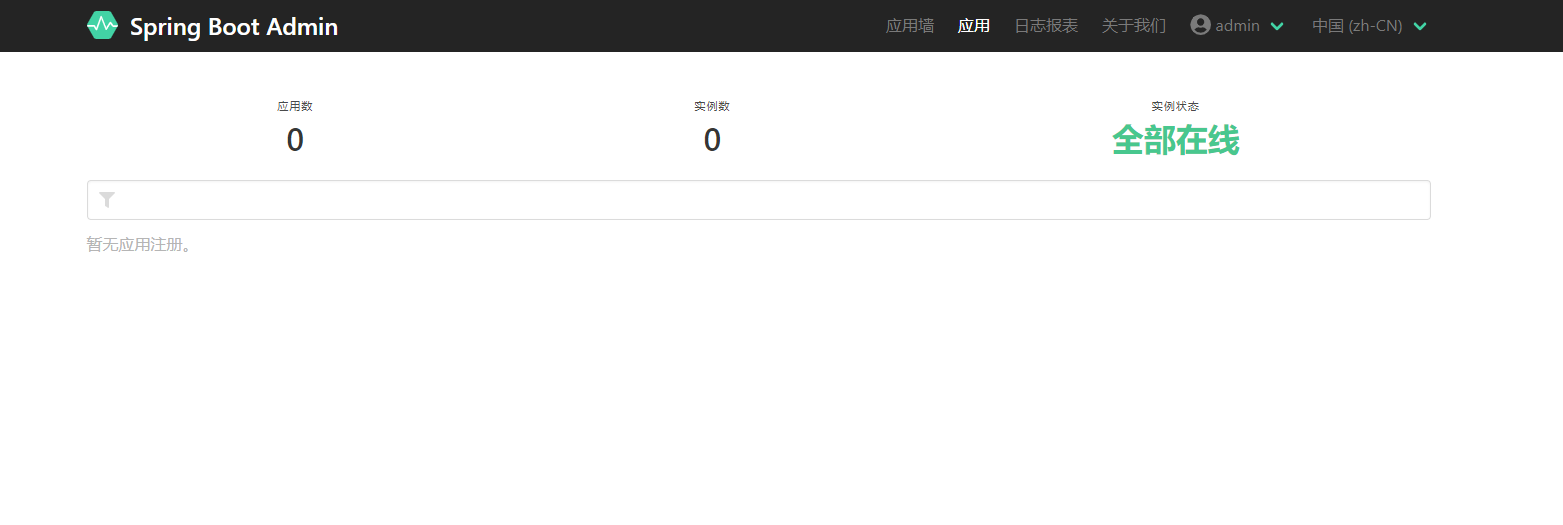
原因是被监控的服务要连接到Admin服务端也是需要认证的
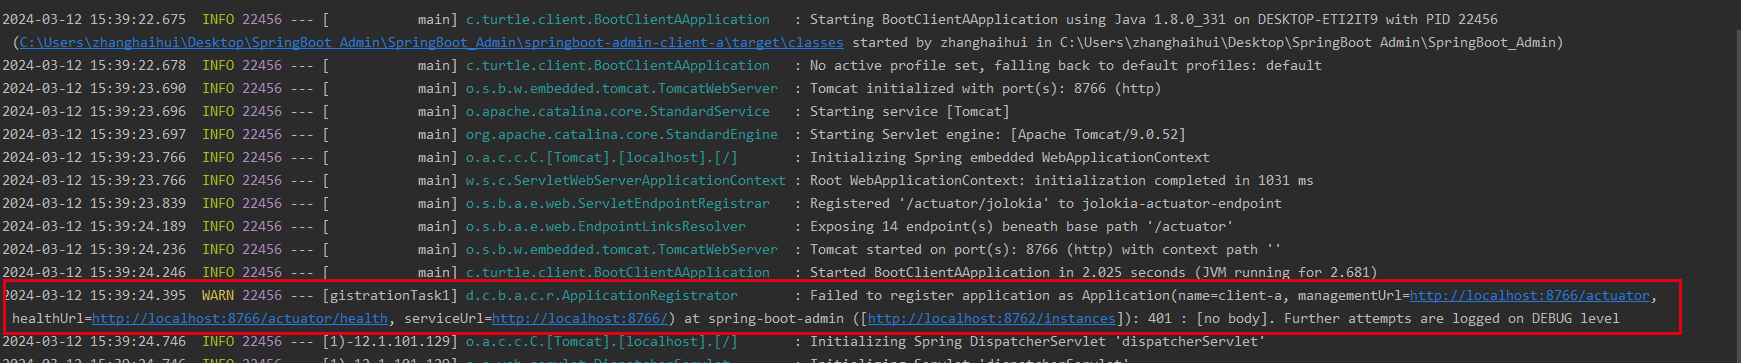
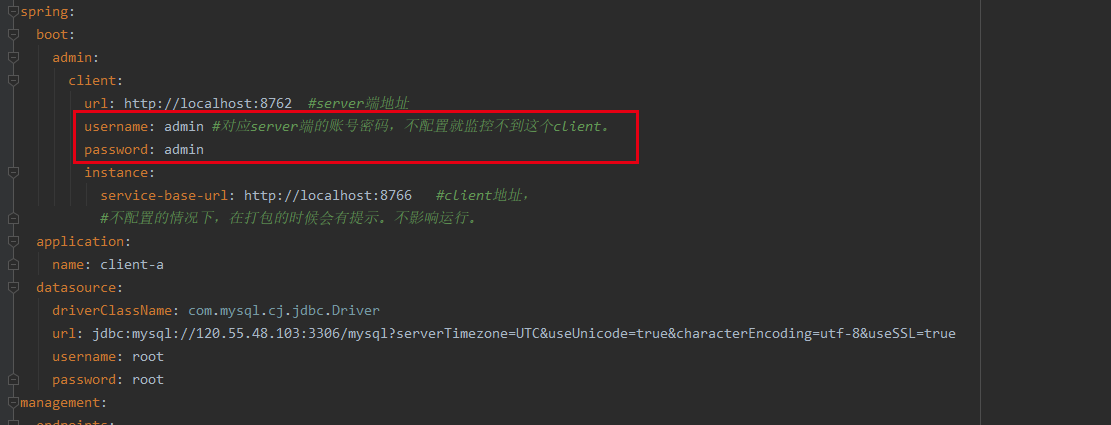
我们在每个需要连接的客户端配置上连接的账号密码即可
```yaml
spring:
boot:
admin:
client:
url: http://localhost:8762 #server端地址
username: admin #对应server端的账号密码,不配置就监控不到这个client。
password: admin
instance:
service-base-url: http://localhost:8766 #client地址,
#不配置的情况下,在打包的时候会有提示。不影响运行。
application:
name: client-a
datasource:
driverClassName: com.mysql.cj.jdbc.Driver
url: jdbc:mysql://120.55.48.103:3306/mysql?serverTimezone=UTC&useUnicode=true&characterEncoding=utf-8&useSSL=true
username: root
password: root
management:
endpoints:
web:
exposure:
include: "*"
endpoint:
health:
show-details: ALWAYS
info:
version: @project.version@
groupId: @project.groupId@
artifactId: @project.artifactId@
server:
port: 8766
```
重启后访问Admin服务管理页面,发现服务被注册上,对客户端B进行同样的操作即可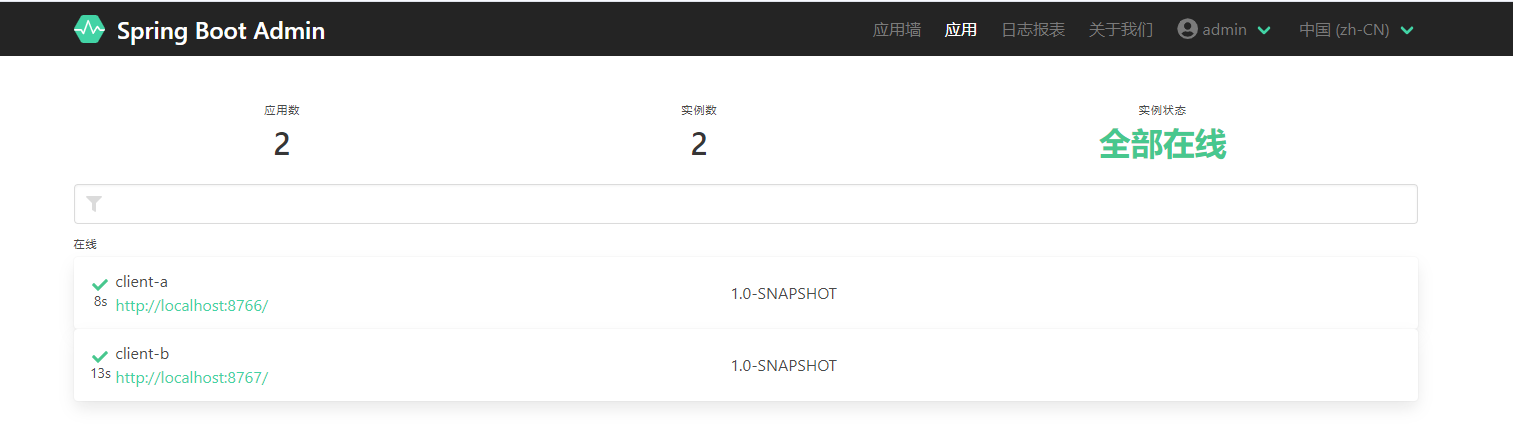
### 5.注册中心
实际开发的时候我们可以需要涉及到的应用非常多,我们也都会把服务注册到注册中心中,比如nacos,Eureka等,接下来我们看看如何通过注册中心来集成客户端。就不需要每个客户端来集成了。
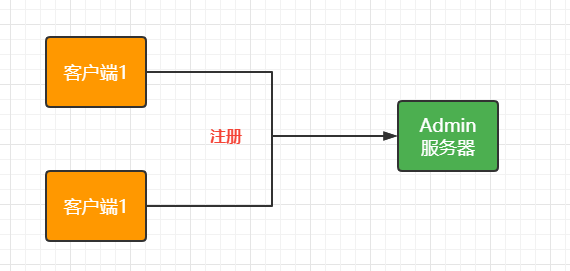
变为下面的场景
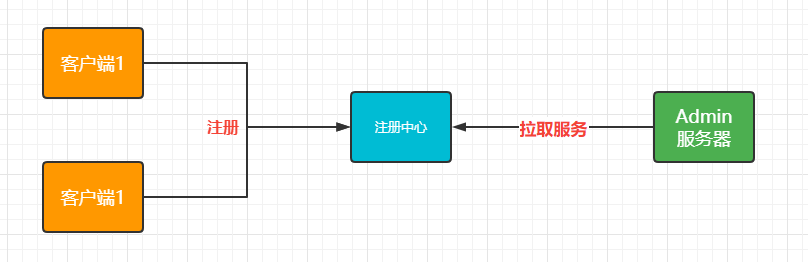
那么我们需要先启动一个注册中心服务,我们以Nacos为例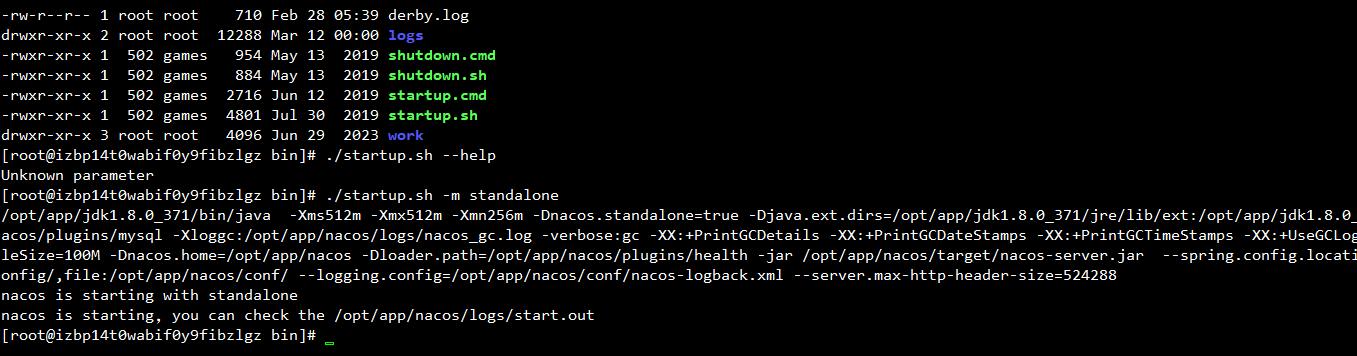
新建springboot-admin-client-nacos-a服务,添加Nacos的注册中心配置、Actuator的配置,所有要被监控的微服务都需要引入该依赖
```xml
springboot-admin
com.turtle
1.0-SNAPSHOT
4.0.0
springboot-admin-client-nacos-a
org.springframework.boot
spring-boot-starter-actuator
org.springframework.boot
spring-boot-starter-web
mysql
mysql-connector-java
org.springframework.boot
spring-boot-starter-jdbc
com.alibaba.cloud
spring-cloud-starter-alibaba-nacos-discovery
com.alibaba.cloud
spring-cloud-alibaba-dependencies
2021.1
pom
import
```
配置Nacos服务,然后启动服务(该服务注册到Nacos中):
```yaml
spring:
application:
name: client-nacos-a
datasource:
driverClassName: com.mysql.cj.jdbc.Driver
url: jdbc:mysql://120.55.48.103:3306/mysql?serverTimezone=UTC&useUnicode=true&characterEncoding=utf-8&useSSL=true
username: root
password: root
cloud:
nacos:
discovery:
server-addr: 120.55.48.103:8848
management:
endpoints:
web:
exposure:
include: "*"
endpoint:
health:
show-details: ALWAYS
info:
version: @project.version@
groupId: @project.groupId@
artifactId: @project.artifactId@
server:
port: 8786
```
新增springboot-admin-server-nacos服务(区别于之前的模块)配置nacos信息,将模块注册到Nacos中
```xml
springboot-admin
com.turtle
1.0-SNAPSHOT
4.0.0
springboot-admin-server-nacos
de.codecentric
spring-boot-admin-starter-server
2.5.1
de.codecentric
spring-boot-admin-server-ui
2.5.1
org.springframework.boot
spring-boot-starter-web
org.springframework.boot
spring-boot-starter-security
com.alibaba.cloud
spring-cloud-starter-alibaba-nacos-discovery
org.springframework.boot
spring-boot-starter-actuator
com.alibaba.cloud
spring-cloud-alibaba-dependencies
2021.1
pom
import
org.springframework.boot
spring-boot-maven-plugin
```
```yaml
server:
port: 8782
spring:
application:
name: SpringBootAdminNacos
security:
user:
name: admin
password: admin
#配置登录界面的UI显示标题
boot:
admin:
ui:
title: ${spring.application.name}
cloud:
nacos:
discovery:
server-addr: 120.55.48.103:8848
service: ${spring.application.name}
#将自己也注册到监控中
management:
endpoints:
web:
exposure:
include: "*"
endpoint:
health:
show-details: ALWAYS
```
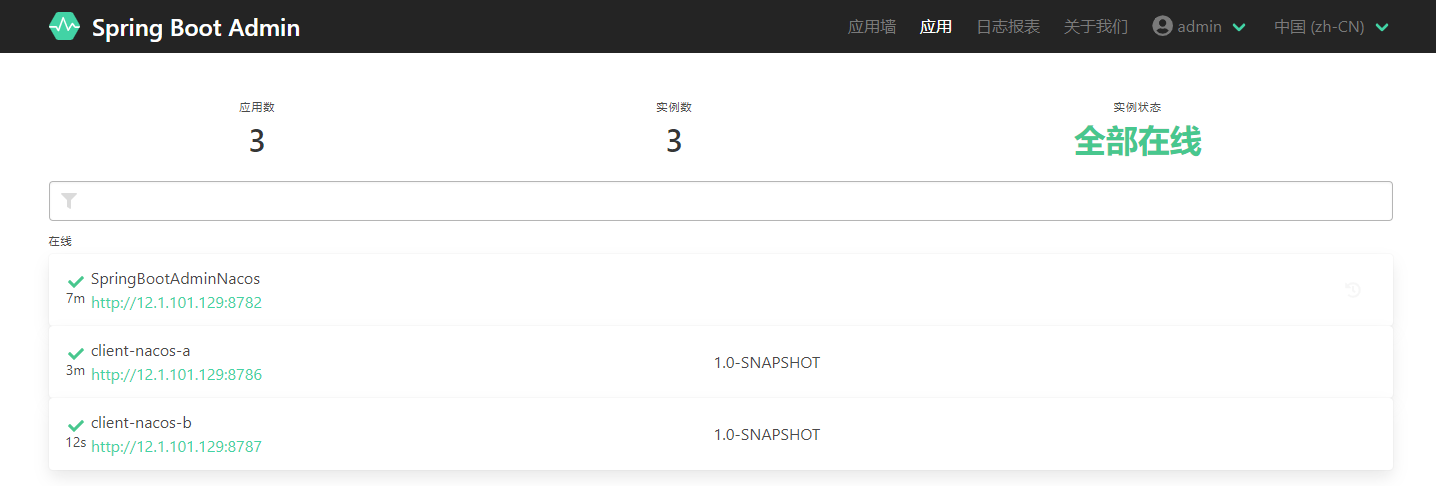
启动服务,我们就可以看到对应的服务了,按照同样的步骤新增b客户端,最终显示界面如下图(使用注册中心服务发现会有30s左右的延时,无直接使用client引入发现快):
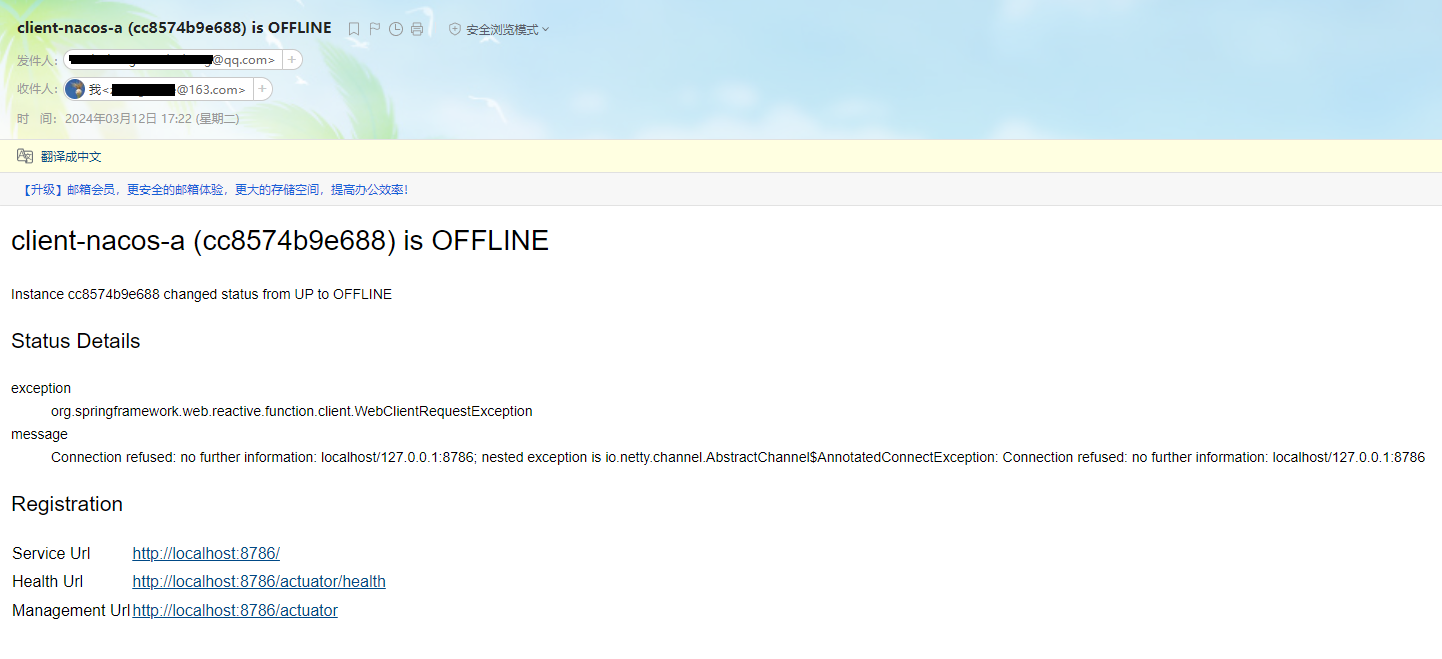
### 6.邮件通知
如果监控的服务出现了问题,下线了,我们希望通过邮箱通知的方式来告诉维护人员,在springboot-admin-server/nacos中添加mail依赖
```xml
org.springframework.boot
spring-boot-starter-mail
```
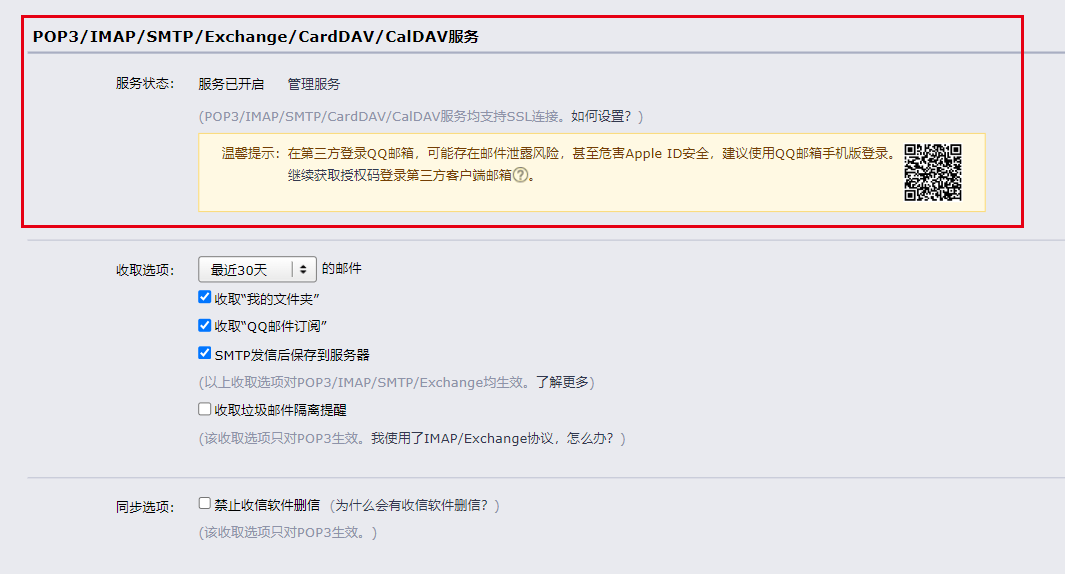
在个人邮箱配置COP3协议,拿到授权码
然后配置对应的邮箱信息
```yaml
server:
port: 8782
spring:
application:
name: SpringBootAdminNacos
security:
user:
name: admin
password: admin
#配置登录界面的UI显示标题
boot:
admin:
ui:
title: ${spring.application.name}
notify:
mail:
#收件人
to: xxxxxxxxxx@163.com
#发件人
from: xxxxxxxxxx@qq.com
cloud:
nacos:
discovery:
server-addr: 120.55.48.103:8848
service: ${spring.application.name}
mail:
# 使用的邮箱服务 qq 163等
host: smtp.qq.com
# 发送者
username: xxxxxxxxxx@qq.com
# 授权码
password: xxxxxxxxxx
#将自己也注册到监控中
management:
endpoints:
web:
exposure:
include: "*"
endpoint:
health:
show-details: ALWAYS
```
然后将客户端a、springboot-admin-server/nacos启动,待信息均被监控之后,将客户端a宕机,可以立即收到邮箱提醒